

Wha's Django ?
Django is a Python-based web framework. A Web framework is a piece of software that helps you build dynamic Web sites, apps, and services. It includes a set of tools and functionalities that address a variety of common Web development issues, including security, database access, sessions, template processing, URL routing, internationalization, and localization.
Using a Web framework like Django allows us to rapidly create reliable and secure Web applications in a standardized manner, without having to reinvent the wheel.
What’s so special about Django?
Django is one of the most popular Python-based Web frameworks. It's the most comprehensive, with features such as a standalone Web server for development and testing, caching, middleware, ORM, template engine, form processing, and integration with Python's unit testing tools provided out of the box. Django also comes with battery included, which mean it includes built-in apps such as an authentication system, an administration interface with automatically generated pages for CRUD operations, RSS/Atom feed generators, and sitemaps. Django even includes a Geographic Information System (GIS) framework. It's useful to know who is using Django so you can get a sense of what you can achieve with it. Instagram, Disqus, Mozilla, Bitbucket, Last.fm, and National Geographic are among the most popular websites that use Django. Imagine how powerful of a django framework is!
Let's Start
This tutorial is the first part of Django 4.0.4 Best Practices series , one tutorial blog will be published each weak until mastering the django framework.
Requirements
- You must be familiar with python language in general and have a good knowledge of oop.
Installation and Virtual environment
- I’ll assume you have Python installed already. if you don't have it you can download it from Download Python.
- The second part is the django installation and set the Virtualenv , we will use mainly the poetry env in this tutorial but i will also provides the pip env way if you prefer it. these steps must be done in your terminal.
Set Poetry environment
# On Terminal
$ mkdir book_shop
$ cd book_shop
$ poetry new book-shop
$ cd  book-shopl
$ rm -r tests book_shop
$ poetry install
$ poetry add django
$ poetry shell
$ django-admin startproject book_shop.
by the command django-admin startproject book_shop. we start a new django project,the command-line utility django-admin is automatically installed with django.
Right now, our book-shop directory tree looks like this:
book-shop/                  <-- higher level folder
 |-- book-shop/             <-- django project folder
 |    |--  book_shop/
 |    |    |-- __init__.py
 |    |    |-- settings.py
 |    |    |-- urls.py
 |    |    |-- wsgi.py
 |    +-- manage.py
 +-- venv/                  <-- virtual environment folder
 +--  poetry.lock
 +--  pyproject.toml
There are five files in our initial project structure:
manage.py: this file will be used to run management commands related to our project. We will use it to run the development server, run tests, create migrations and much more.__init__.py: this empty file tells Python that this folder is a Python package.settings.py: this file contains all the project’s configuration.urls.py: this file is responsible for mapping the routes and paths in our project.wsgi.py: this file is a simple gateway interface used for deployment.
A simple web server is included with Django. We don't have to install anything extra to run the project locally because it's very convenient while development. We may test it by running the following command:
$ python manage.py runserver
Any time you face this error
Error: That port is already in use.in windows you can run one of these commands :
- To kill the already running server :
sudo fuser -k 8000/tcp- To choose another server :
python manage.py runserver 8080
When you run the run server command , a punch of errors that till you you should migrate the data will appear, ignore it now. The figure bellow shows how the server will look like.
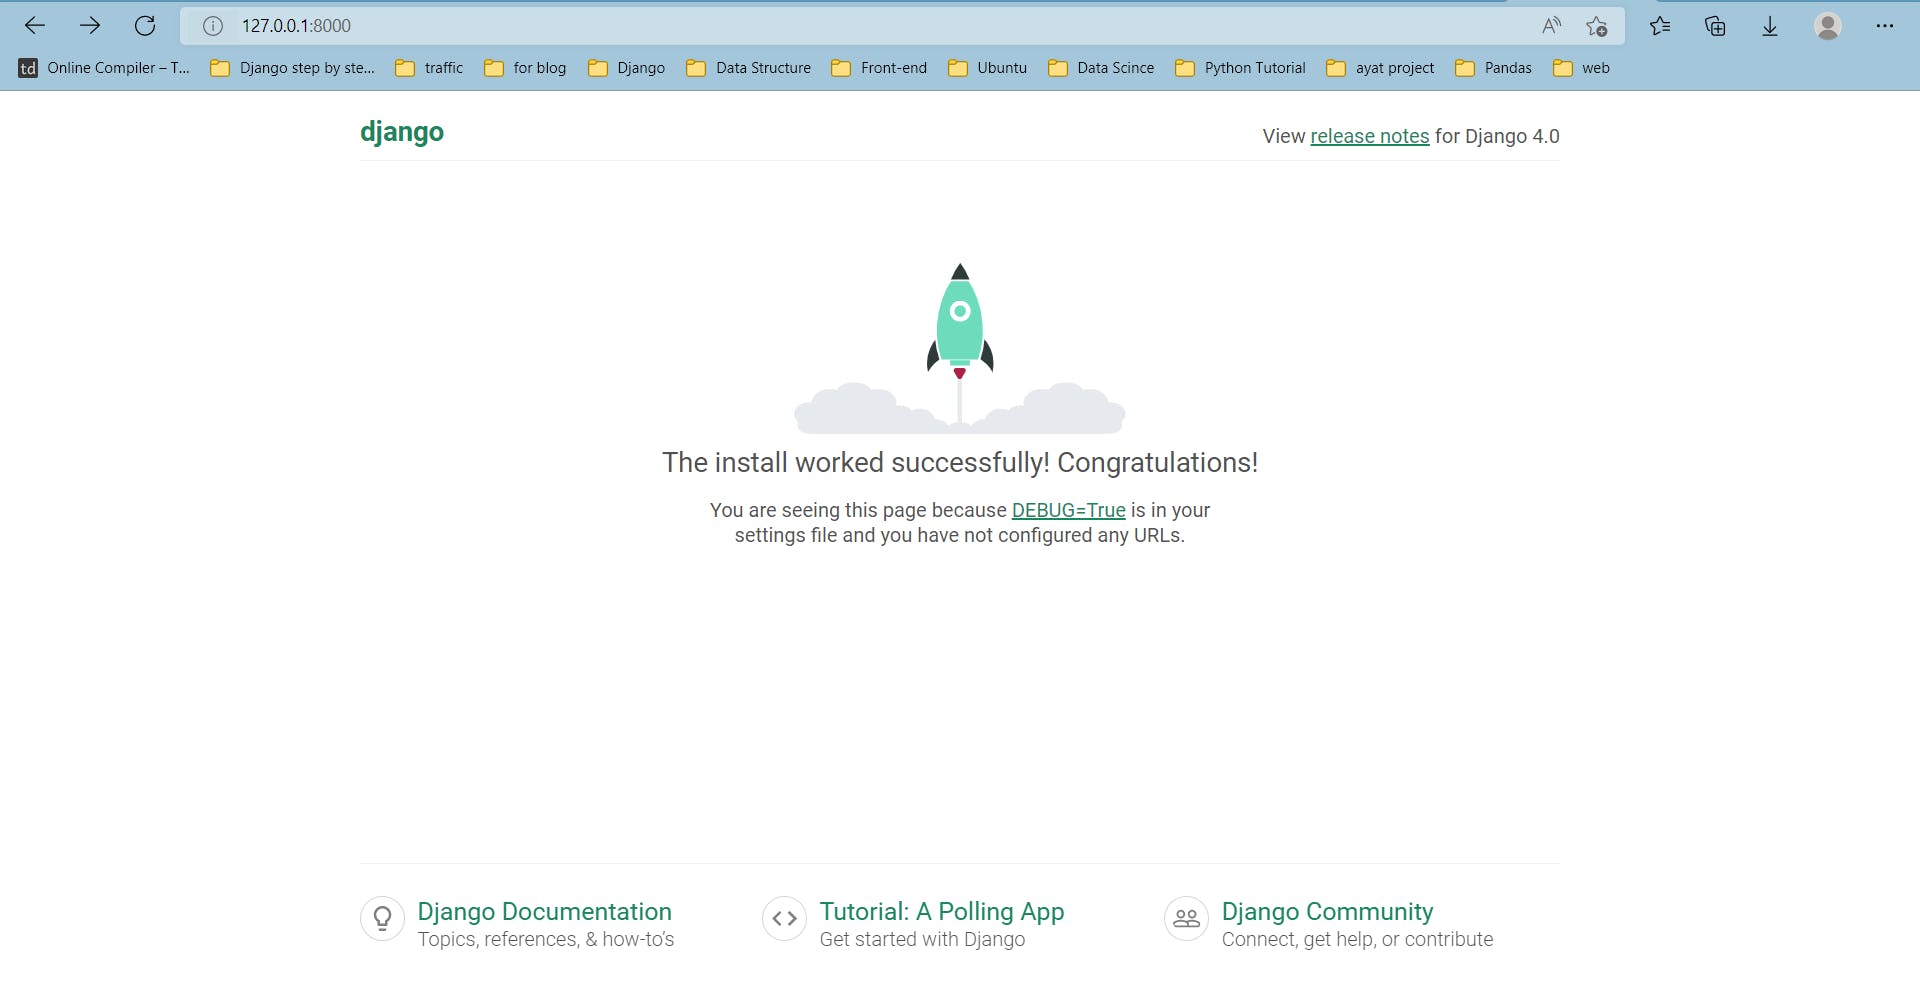
Hit CTRL + C to stop the development server.
Now we will create our first app, but before that let's discuss the most confusing terms that I faced when I used django for the first time.
Django Projects and Django Apps
app: a Web application that performs a task. A typical program consists of models (database tables), views, templates, and tests.
project : is a set of configurations and applications. A project might be made up of numerous apps or just one.
It’s important to note that you can’t run a django app without a project.
What does Django code look like?
A web application waits for HTTP requests from the web browser in a traditional data-driven website (or other client). When an application receives a request, it determines what is required based on the URL and perhaps information in the POST or GET data. It may then read or write information from a database or do other tasks to satisfy the request, depending on what is necessary. The program will then respond to the web browser, often by dynamically producing an HTML page for the browser to display by inserting the retrieved data into placeholders in an HTML template.
Django web applications typically group the code that handles each of these steps into separate files:
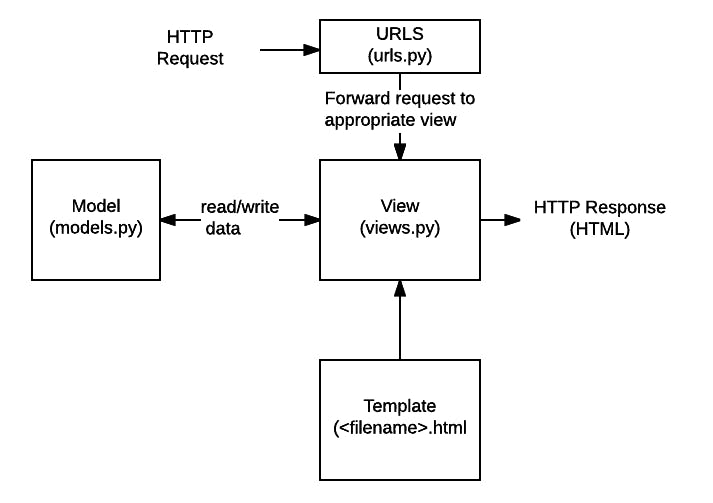
- URLs: While it is possible to process requests from every single URL via a single function, it is much more maintainable to write a separate view function to handle each resource. A URL mapper is used to redirect HTTP requests to the appropriate view based on the request URL. The URL mapper can also match particular patterns of strings or digits that appear in a URL and pass these to a view function as data.
- View: A view is a request handler function, which receives HTTP requests and returns HTTP responses. Views access the data needed to satisfy requests via models, and delegate the formatting of the response to templates.
- Models: Models are Python objects that define the structure of an application's data, and provide mechanisms to manage (add, modify, delete) and query records in the database.
- Templates: A template is a text file defining the structure or layout of a file (such as an HTML page), with placeholders used to represent actual content. A view can dynamically create an HTML page using an HTML template, populating it with data from a model. A template can be used to define the structure of any type of file; it doesn't have to be HTML!
This figure and the illustrations bellow it are from mdn web docs_
Django refers to this organization as the "Model View Template (MVT)" architecture.
Create our first app
So, let’s build a simple book shop website. To build our first app, go to the directory where the manage.py file is and executes the following command:
python manage.py startapp books
The directory will be like :
book-shop/                  <-- higher level folder
 |-- book-shop/
 |    |-- books/                <-- our new django app!
 |    |    |-- migrations/
 |    |    |    +-- __init__.py
 |    |    |-- __init__.py
 |    |    |-- admin.py
 |    |    |-- apps.py
 |    |    |-- models.py
 |    |    |-- tests.py
 |    |    +-- views.py           <-- django project folder
 |    |--  book_shop/
 |    |    |-- __init__.py
 |    |    |-- settings.py
 |    |    |-- urls.py
 |    |    |-- wsgi.py
 |    +-- manage.py
 +-- venv/                  <-- virtual environment folder
 +--  poetry.lock
 +--  pyproject.toml
let’s explore each file responsibility :
migrations: here Django store some files to keep track of the changes you create in themodels.pyfile, so to keep the database and themodels.pysynchronized.admin.py: this is a configuration file for a built-in Django app called Django Admin.apps.py: this is a configuration file of the app itself.models.py: here is where we define the entities of our Web application. The models are translated automatically by Django into database tables.tests.py: this file is used to write unit tests for the app.views.py: this is the file where we handle the request/response cycle of our Web application.
Then run this command to fix the migration error that we faced before when we run the server for the first time. we will discuss what dose migrate mean soon.
python manage.py migrate
Configure our project
To can use our project we must configure it, in the setting.py there is an application definition, where it is a list INSTALLED_APPS that contained the build-in app in any django project.
settings.py
INSTALLED_APPS = [
    'django.contrib.admin',
    'django.contrib.auth',
    'django.contrib.contenttypes',
    'django.contrib.sessions',
    'django.contrib.messages',
    'django.contrib.staticfiles',
]
As you can observes, django comes with six pre-installed apps. They provide common features that most Web applications require, including as authentication, sessions, and administration of static files (images, javascripts, CSS, and so on). As we progress in our tutorial series we will explore all those apps.
What you must know in this phase that each time you create a new app you must add it to the INSTALLED_APPS to configure it.
The best practice for that is to separate your app from the build-in apps as follow :
INSTALLED_APPS = [
    # buils in
    'django.contrib.admin',
    'django.contrib.auth',
    'django.contrib.contenttypes',
    'django.contrib.sessions',
    'django.contrib.messages',
    'django.contrib.staticfiles',

    # my apps
    'books'
]
App Logic
models.py
The models are essentially representations of the database layout in your application. What we are going to do in this section is create an admin app , define a class in the models.py to create the data base , migrate the data and register the model in the admin.py
- Create a super user (admin)
in terminal run this command
$ python manage.py createsuperuser --username admin --email admin@admin.com
when you run the server and navigate the admin app 127.0.0.1:8000/admin/ you will see this :
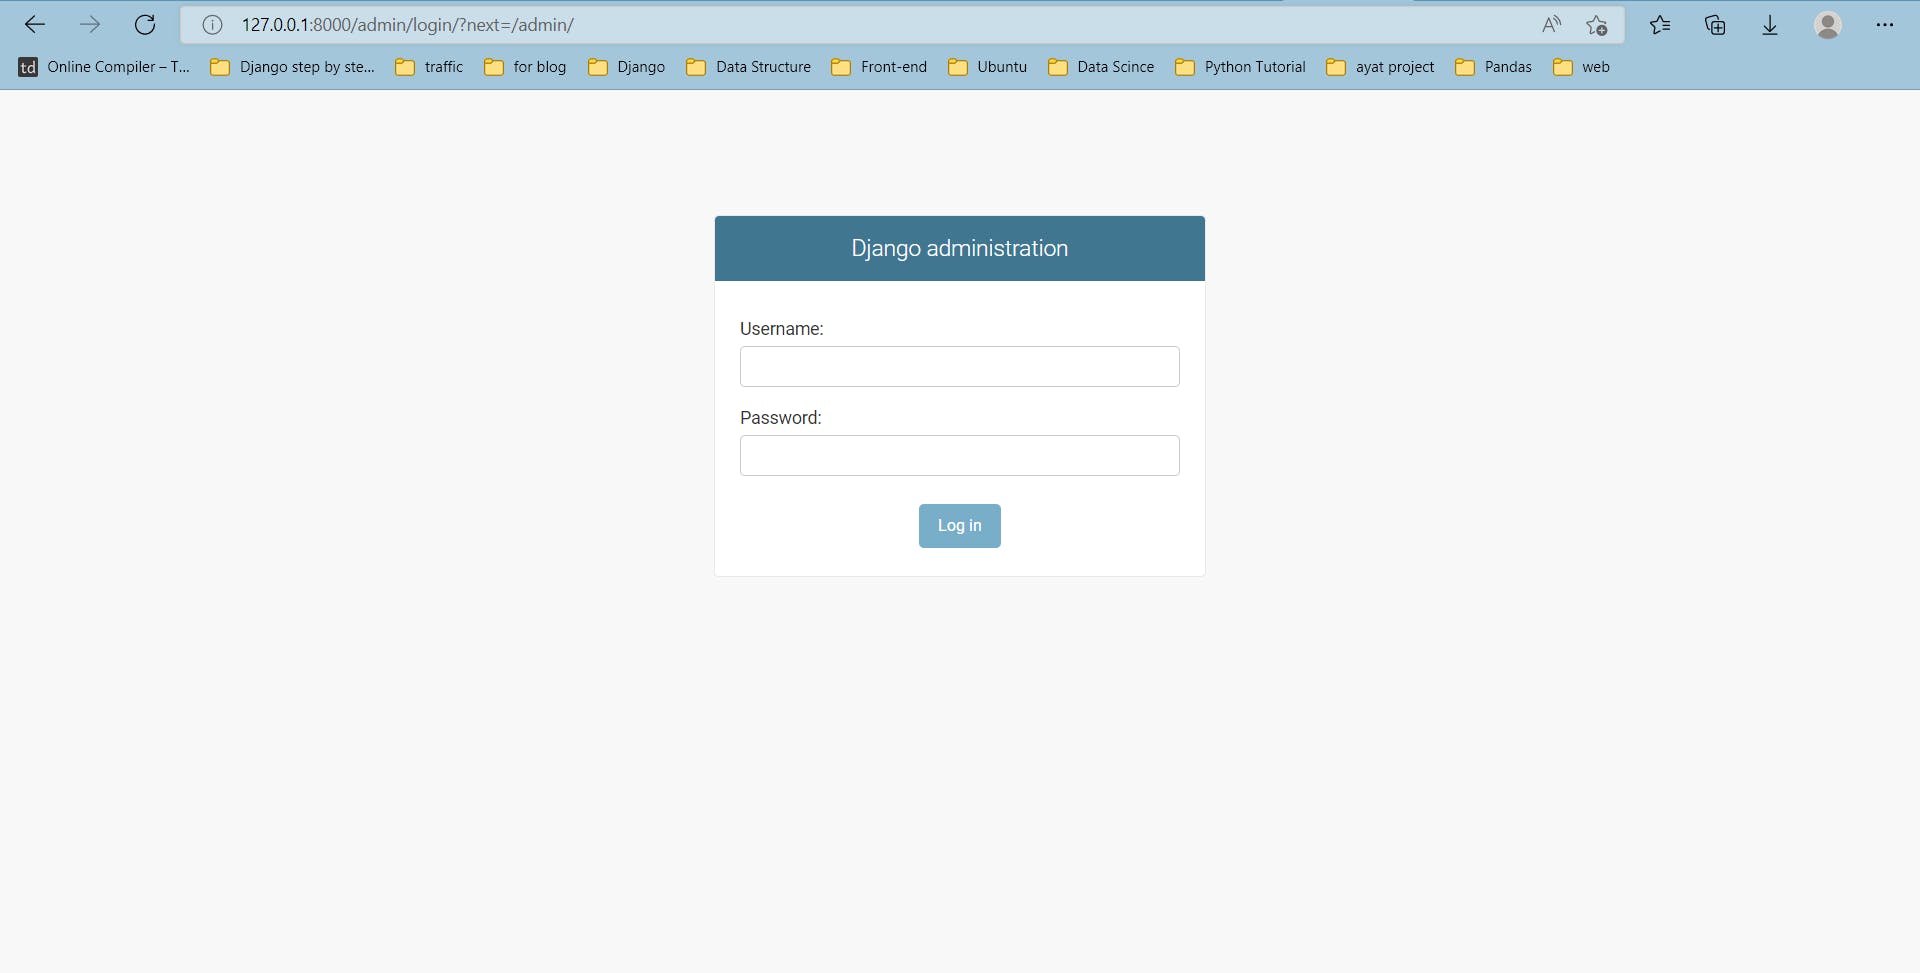
when you enter the username and the password that you used before , some thing like the bellow figure will appear in your admin app page if every thing until now is ok.
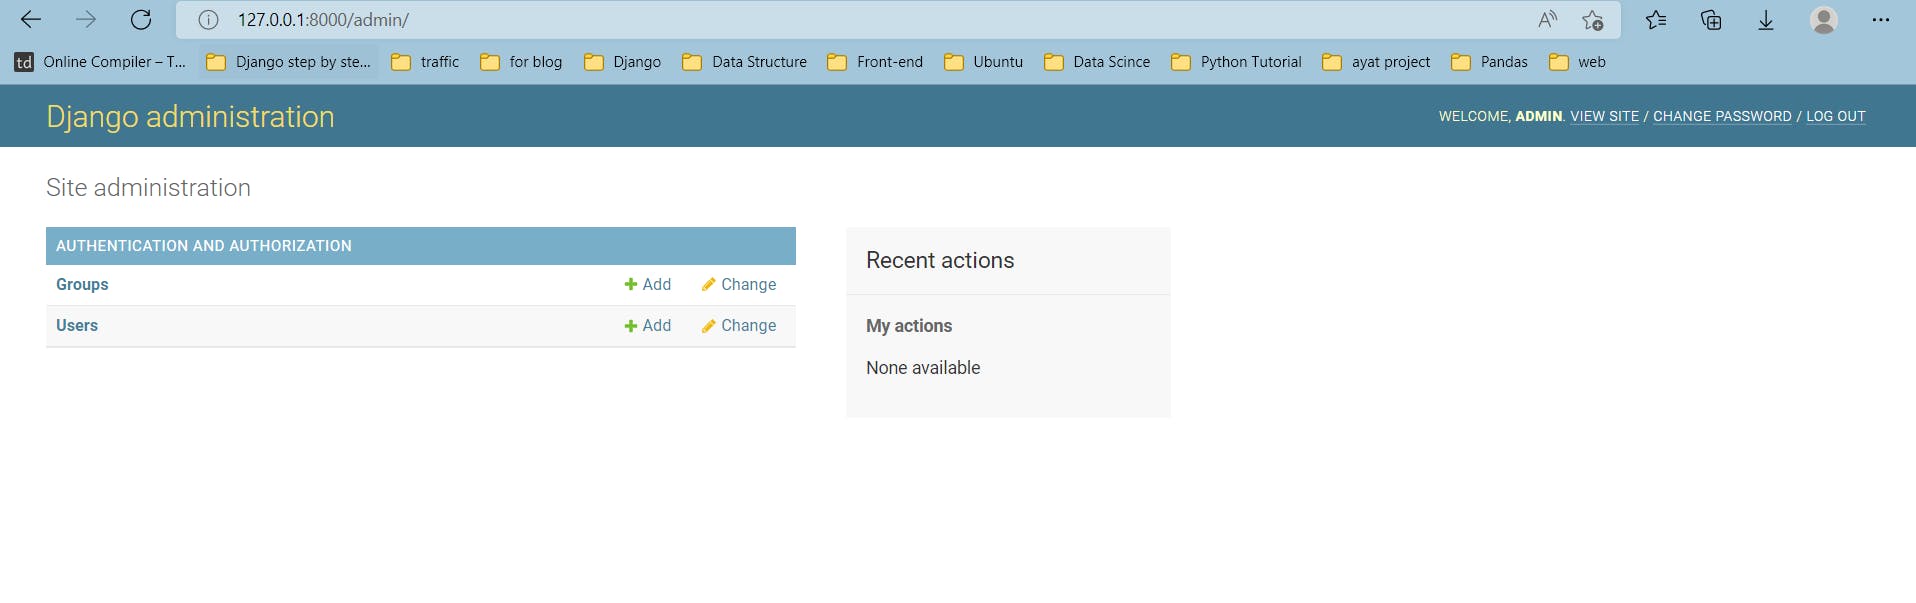
from django.db import models
from django.contrib.auth import get_user_model

class Book(models.Model):
    title = models.CharField(max_length= 64)
    author = models.CharField(max_length=64)
    publishing_year = models.IntegerField(null= True , blank= True)
    rating = models.IntegerField(default= 0)
    review = models.ForeignKey(get_user_model(), on_delete= models.CASCADE)
    created_at = models.DateTimeField(auto_now_add=True)
    updated_at = models.DateTimeField(null=True)

    def __str__(self):
        return self.title
All models are subclass of the django.db.models.Model class. Every class will be converted into a database table. Django.db.models objects are used to represent each field. Field subclasses will be transformed into database columns (built-in Django core).
The fields CharField, DateTimeField, ForeignKey, etc., are all subclasses of django.db.models.Field and they come included in the Django core – ready to be used. Django offers a wide range of options to represent different types of data, such as CharField, TextField, DateTimeField,ForeignKey BooleanField, DecimalField, and many others.
Some fields have required arguments, for example for CharField we should set a max_length .
ForeignKey is one of the basic concepts of making connections through tables in the database. ForeignKey is a Field (which represents a column in a database table), and it’s used to create many-to-one relationships within tables. It’s a standard practice in relational databases to connect data using ForeignKeys.
ForeignKey requires two arguments:
- to : class of connected Model.
on_delete: Defines the behavior of instance after the referenced instance is deleted, there is 7 possible behaviors for it , one of them isCASCADE. TheCASCADEbehavior implies that when the referenced object is deleted, also delete the objects that have references to it (when you remove a blog post for instance, you might want to delete comments as well).
- admin.py Register the model in the admin file.
from django.contrib import admin
from .models import Book

admin.site.register(Book)
- Migrating the Models
The next step is to instruct django to create the database so that we may use it.
on the
terminalrun this command
$ python manage.py makemigrations
At this point, django created a file named 0001_initial.py inside the books/migrations directory. It represents the current state of our application’s models. In the next step, django will use this file to create the tables and columns. The migration files are translated into SQL statements. The next step now is to apply the migration we generated to the database:
$ python manage.py migrate
views.py
Django’s views are the information brokers of a django application. A view sources data from your database and delivers it to a template. For a web application, the view delivers web page content and templates. In this section we will utlize a 3 types of django Class Based Views(TemplateView, ListView, DetailView).
- TemplateView is the most basic of the class-based generic views. It renders a given template using the context parameters contained in the URL.
When you wish to present information on an HTML page, you should use TemplateView. When your page has forms and creates or updates items, TemplateView should not be used.
- List View refers to a view (logic) to display multiple instances of a table in the database
- Detail View refers to a view (logic) to display one instances of a table in the database.
from django.views.generic import ListView , DetailView , TemplateView
from .models import Book

class BookListView(ListView):
    template_name = 'book_list.html'
    model= Book

class BookDetailView(DetailView):
    template_name = 'book_detail.html'
    model = Book

class BookTemplateView(TemplateView):
    template_name = 'book_trmplate.html'
urls.py
The best practice for the urls files is to create a separate urls.py file for each app. its not mandatory but by doing that you will be sure that you will not forget to add the app to the project urls.py file and to make the hole project cleaner.
In the urls.py in the project directory you can find a variable called urlpatterns and some import statements , the file looks like :
from django.contrib import admin
from django.urls import path

urlpatterns = [
    path('admin/', admin.site.urls),
]
The first thing we have to do is to create a urls.py file in your app , then we will go to the project urls.py file and do this :
from django.urls import path , include
urlpatterns = [
    path('admin/', admin.site.urls),
    path('', include('books.urls'))
]
then in the urls.py file in the app directory define a new urlpatterns variable :
from django.urls import path
from .views import BookListView , BookDetailView , BookTemplateView

urlpatterns = [
    path('book-list' , BookListView.as_view(), name ='book-list' ),
    path('book-detail/<int:pk>/' , BookDetailView.as_view(), name='book-detail'),
    path('' , BookTemplateView.as_view(), name= 'book-template')
]
<int:pk> is the way that i can send params in the url by it.
Now , we can run the server. and now the admin page will look like :

- Templates
Firstly we must create a Templates directory , but for me I preferer making some changes in the setting.py file at first, to avoid forget it.
in the setting file search about TEMPLATES list , when you find it , add the value of [ BASE_DIR / 'templates'] to the key 'DIRS'
Now we can create the templates directory. the structure of the directory will be like :
 |    |--  templates/
 |    |    |-- base.html
 |    |    |-- book_list.html
 |    |    |--book_detail.html
 |    |    |--book_trmplate.html
The base template is where we will put all of the code that we wan't to apply to both of our other HTML files. It should contain things like a website sidebar or logo, essentially anything that will always be shown no matter what the page. For our purposes we will create a very basic base template and add to it later.
- Base Template
<!DOCTYPE html>
<html lang="en">
<head>
    <meta charset="UTF-8">
    <meta http-equiv="X-UA-Compatible" content="IE=edge">
    <meta name="viewport" content="width=device-width, initial-scale=1.0">
    <title>{% block title %}{% endblock %}</title>
</head>
<body>
    {% block content %}
    {% endblock %}
</body>
</html>
The {% %} symbol is the way that we can add code into our html files. When we are going to be creating a new block or writing something like an if statement or for loop we put it inside of this tag. When we put {% block content %} inside our html we are defining that this block can be overridden from a child class and that what's inside of it should be replaced by whatever appears inside the corresponding tags of the child class. As you can see we have defined two blocks here: content and title.
It is important than whenever we create a block we also end it by using {% endblock %}.
the Django template system is not simply Python embedded into HTML. This is by design: the template system is meant to express presentation, not program logic.
- Child Templates Any template that inherit all of the code from the base template and replace the blocks set in the base template.To inherit from the base template we need to include the following line at the beginning of our code: {% extends 'base.html' %}
By redefining the blocks inside of our child template whatever is inside those tags {% block content %} {% endblock %} will replace the block with a corresponding name from our base template.
Templates
List View
book_list.html
{% extends "base.html" %}

{% block content %}
    {% for i in book_list %}
    <p>
        <ul>
            <li>
                 {{i.title}} *---* {{i.author}}
            </li>
        </ul>

    </p>

    {% endfor %}
{% endblock %}
The list view page will look like :

Detail View
book_detail.html
{% extends "base.html" %}


{% block content %}
    <p>
        Title : {{ book.title}}
        <br>
        author : {{book.author}}
        <br>
        publishing_year : {{book.publishing_year}}
        <br>
        rating : {{book.rating}}
        <br>
        review : {{book.review}}
    </p>

{% endblock %}
The book detail page will look like :

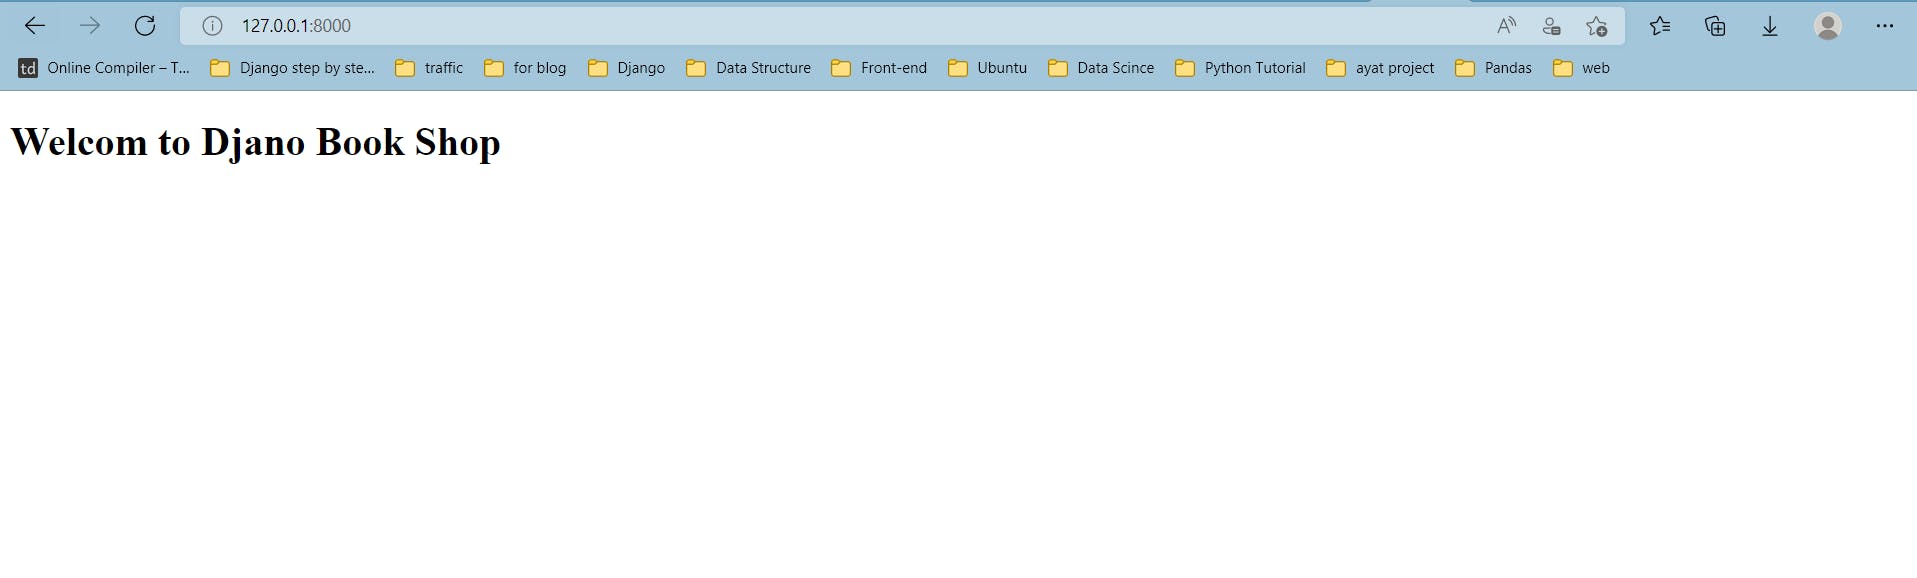
Template View
book_template.html
{% extends "base.html" %}


{% block content %}
    <h1>Welcom to Djano Book Shop</h1>

{% endblock %}
The home page will look like :